Air Dry Bubble Hash vs Freeze Drying Hash
Why Do You Need to Dry Hash
There is a lot of moisture involved in the process of making bubble hash (also known as water hash or ice water hash). Cannabis flower is placed into a bucket (or several buckets) lined with nylon mesh bags called bubble bags or wash bags. The bucket is then filled with ice and water and mixed with a mixing utensil. This process freezes the trichomes on the cannabis and then knocks them off of the plant.
The mesh bags filter the trichome water to remove unwanted plant material. What you are left with is a delicious combination of cannabinoids and terpenes – hash. But you are not quite done yet. This hash is still wet with the water used to extract it so you must dry the hash and remove the water.
Removing the moisture from your hash is key for several reasons. Moisture in your hash can promote the growth of mold and mildew which makes the hash an unsafe product. By drying your hash you are protecting the quality and increasing shelf life. Drying hash is also essential to the texture and consistency. Dry hash will be sticky and easy to handle.
This also means it will be suitable for smoking. Wet hash will not burn properly and you will not get the most out of your hash. Finally, drying your hash helps to maintain the terpene profile of the extract. Terpenes are the flavor and the smell of hash and they may contain some medical values as well. The issue is, they are highly volatile and will break down easily.
To summarize, drying your hash is important because:
- Avoid mold and mildew growth
- Increase shelf life
- Improve texture and consistency
- Make it smokeable
- Maintain terpene profile
There are two main ways to dry your hash: air dry bubble hash and freeze drying. Air dry bubble hash is exactly as it sounds; using air to dry the hash. Freeze drying is a bit more technical of a process which utilizes a freeze dryer. There are advantages and disadvantages to both processes. Let’s take a look at the process of each and the advantages and disadvantages of each.
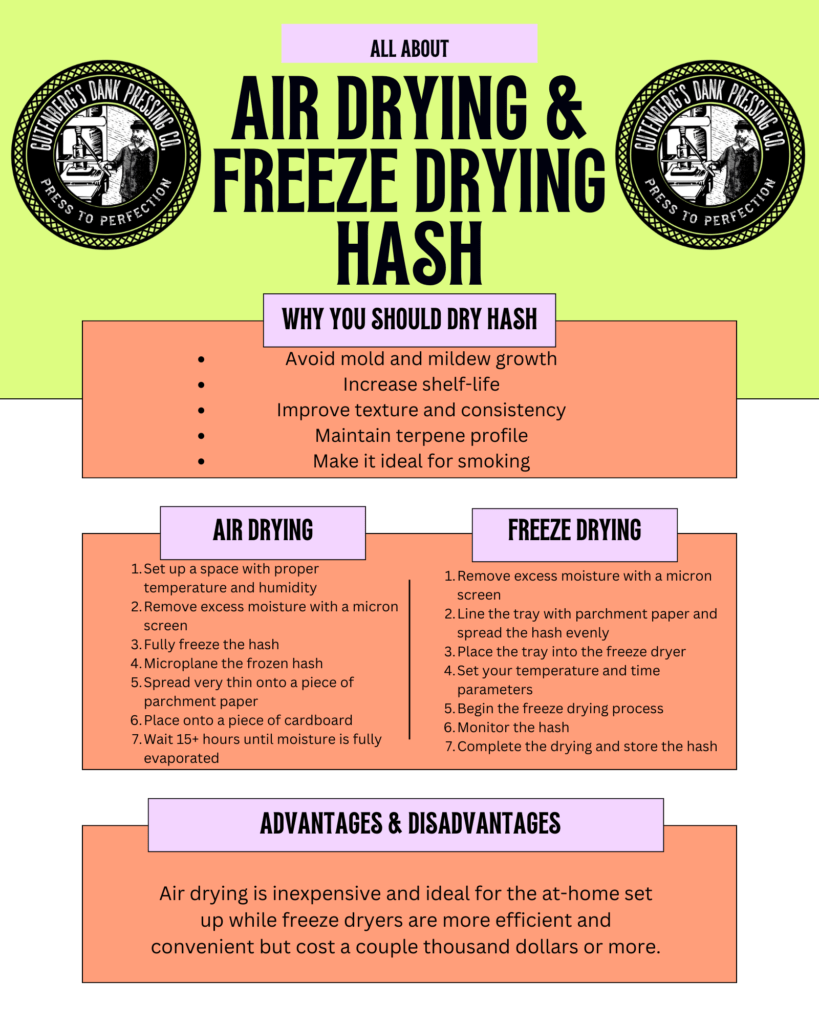
Table of Contents
How to Air Dry Bubble Hash
Process
The essentials to air dry bubble hash are temperature and humidity control. It can be useful to buy and use a temperature and humidity gauge. The ideal temperature is about 55℉ with the humidity as low as you can go (30-50% is what you should shoot for).
Once you’ve washed your hash, place it on a 25 micron mesh screen on top of a paper towel. Press the hash with your hands (use sterile non-stick gloves!) to remove some of the excess moisture. Now remove the paper towel and place your hash in the freezer until it is completely frozen (this could take 24 hours).
Now we want to break the frozen hash patties into as small of pieces as possible so as to make evaporation of the moisture as efficient as possible. This can be accomplished with a microplane or a sieve. As always, be sure to use gloves to keep the hash from sticking to your fingers. You may have to freeze your hash again at some point in the sieving/microplaning process if you find the hash has thawed to the point it is becoming sticky. You’ll know it’s time when the sieving/microplaning process becomes more difficult.
Spread your hash in a very thin layer on parchment paper. Place the parchment paper on top of a piece of cardboard (some people use a pizza box, but be careful of crumbs if it is a used pizza box). The cardboard draws moisture from the hash. Now it is time to place the hash in the ideal environment. A cold room is your best option, but you can also use a wine fridge or a regular refrigerator.
The issue with a regular refrigerator is that you are possibly exposing the hash to odors from the food already stored in there. Let the hash sit and air dry until the moisture has totally evaporated. This could take upwards of 15 hours so patience is key. Congratulations, now you have dried hash ready for smoking to be pressed into hash rosin!
Step-By-Step Guide on How to Air Dry Bubble Hash
- Set up a space with proper temperature and humidity (55℉ and about 30-50% relative humidity)
- It can be helpful to use a temperature/humidity gauge
- A cold room is best, but you can also use a wine fridge or a regular refridgerator
- Place your hash onto a 25 micron screen and place that on top of a paper towel
- Lightly press the hash to remove excess moisture
- Freeze your hash patties until entirely frozen (around 24 hours)
- Microplane or sieving your hash into a fine powder or as small of pieces as possible
- You may need to refreeze your hash if it becomes sticky and hard to manage during the process of microplaning/sieving
- Spread the hash into a very thin layer on a piece of parchment paper
- Place this on top of a piece of cardboard to draw the moisture out
- Place the hash into your temperature and humidity controlled environment
- Wait 15 or more hours for all the moisture to evaporate
Advantages and Disadvantages About the Air Dry Bubble Hash Process
The biggest advantage of the air dry bubble hash process is that it is an inexpensive process. This may be the best option for hash-hobbyists and at-home set ups.
The disadvantages of air drying hash are the time it takes to properly dry, the risk of mold growth as a result of the prolonged drying period, and the loss of valuable terpenes due to not being dried in a perfectly controlled environment.
| Advantages | Disadvantages |
| Inexpensive process | Longer time to dry |
| Risk of mold growth | |
| Loss of valuable terpenes |
Freeze Drying Hash
Process (Full Guide Here)
Using a freeze dryer to dry your hash utilizes the concept of sublimation. The hash is first frozen then the pressure is dropped to remove the moisture. This process allows the solid frozen water to become a gas and be removed, entirely skipping the liquid phase (solid to gas is the process of sublimation). Using a freeze dryer is pretty straight forward. After washing your hash, remove any excess moisture then spread the hash onto a piece of parchment paper.
Place the parchment onto the freeze dryer tray and load the freeze dryer. Now just set your temperature and time parameters and off you go! The process will make your hash crisp and moisture-free. It is best practice to keep an eye on your hash periodically during the process to make sure everything is running smoothly.
Step-By-Step Guide to Freeze Drying Hash (Full Guide Here)
- Remove excess moisture from your hash by pressing it with your hands through micron screens or bags
- Line a piece of parchment onto the freeze dryer tray and spread your hash out
- Place the hash tray into the freeze dryer
- Set your parameters
- Begin the freeze drying process
- Monitor the freeze dryer
- Complete the freeze drying and store your hash in an airtight container
Advantages and Disadvantages
Using a freeze dryer is a more efficient and convenient process than air dry bubble hash process. It can also help you to retain potency and flavor. Some find the texture and appearance of freeze dried hash to be superior to air dried hash as well. The biggest and maybe only disadvantage is the cost. Freeze dryers can cost anywhere from a couple thousand to tens of thousands of dollars. If you are working with an at-home set up, air drying might be best for you.
| Advantages | Disadvantages |
| Retained potency and flavor | Expensive to purchase a freeze dryer (thousands of dollars) |
| Improved texture, consistency, and appearance | |
| Convenience and efficiency |
Conclusion
Drying your hash is an essential and important step in the hash production process. Drying your hash minimizes the risk of mold growth, extends shelf-life, maintains potency and flavor, and creates a consistency that is ideal for consumption. The air dry bubble hash process is an inexpensive process ideal for the at-home set up. It is less efficient than using a freeze dryer, but you save thousands of dollars from the cost of purchasing a freeze dryer.