Easy to Follow Guide for
Making Amazing Dry Sift Hash
Updated August 2022
People have been making hash literally since the Stone Age (well the end of the Stone Age at least). This extremely old form of cannabis has recently (the past 70 or so years) gone through a lot of growth. There are now several popular ways to make cannabis hash. Dry sifting is a relatively easy method to produce highly potent and high quality hash. Read all about how to make dry sift below!
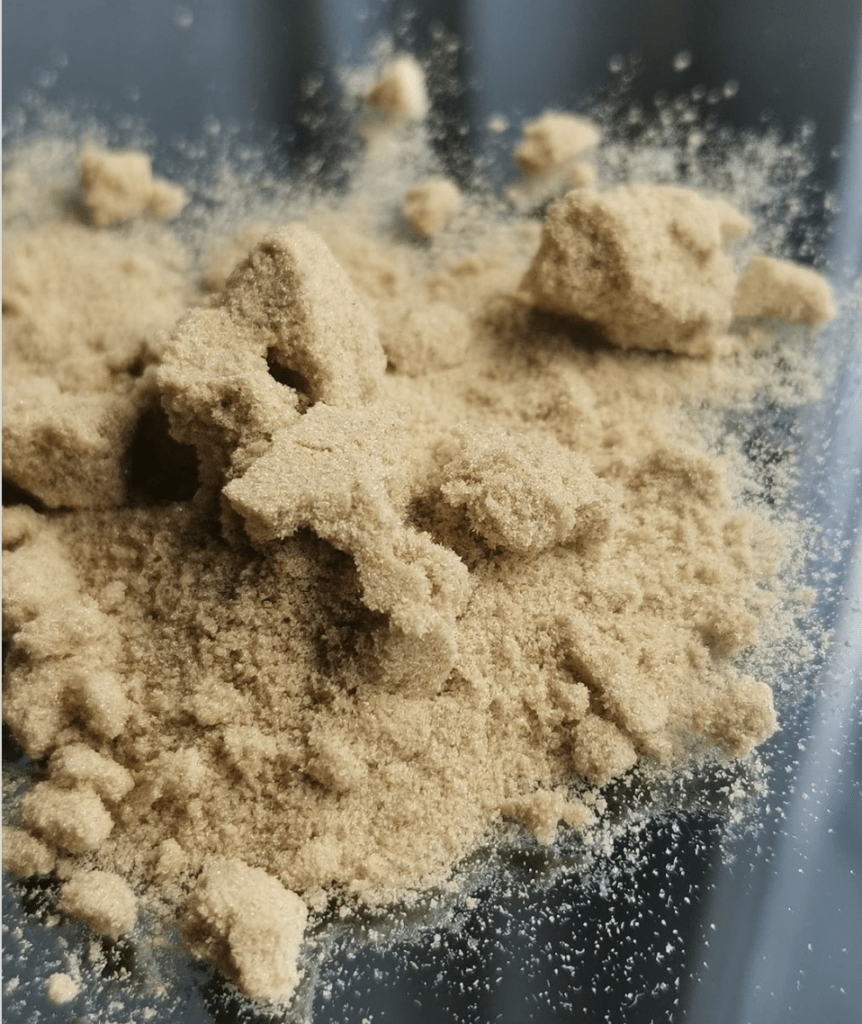
Table of Contents
How to Make Dry Sift Hash
The Basics
The act of “dry sifting” (also called “sieving”) is rubbing dried cannabis against fine mesh screens to separate trichome heads from their stalks and the rest of the plant. If you collect the kief at the bottom of your grinder, then you have been dry sifting this whole time! To make top quality dry sift hash there is a bit more involved than just grinding up buds in your grinder, but it is all worth it for a highly pure, highly potent, and highly delicious end product.
Types of Trichomes
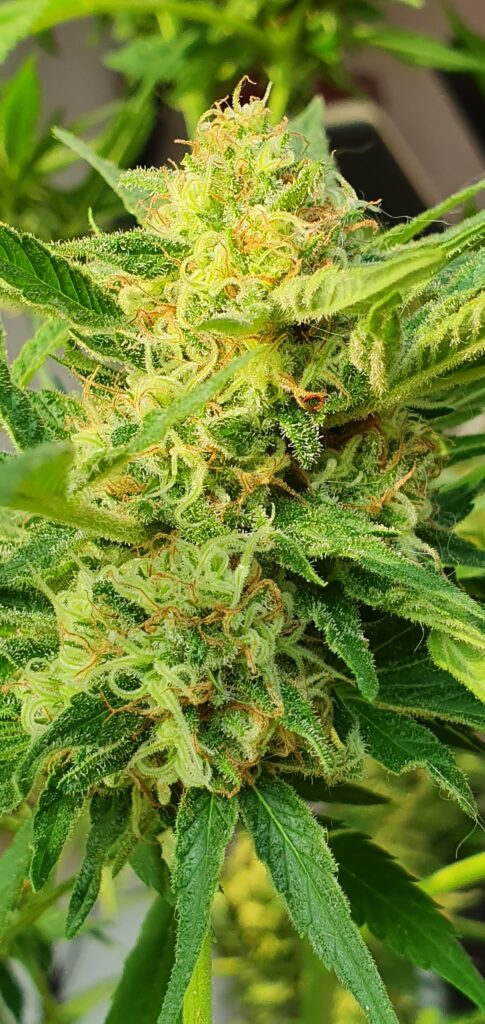
As we mentioned above, the goal of dry sifting is to separate the trichome heads from the rest of the plant. So, what are trichomes? Trichomes (sometimes shortened to “trichs”) are little bulbs on the ends of stalks that grow outward from the cannabis plant. You can recognize some of them with the naked eye as the frosty-looking material on cannabis buds. They contain the very desirable cannabinoids and terpenes. There are three types of trichomes: bulbous, capitate-stalked, and capitate-sessile.
Bulbous Trichomes
These are the smallest trichomes on the plant. They cannot be seen without a microscope and are found all over the plant. These trichomes will not be found in the best quality hash.
Capitate-Sessile Trichomes
While a little bigger and much more abundant than bulbous trichomes, capitate-sessile trichomes are still not found in the best quality hash. They can usually be found on the underside of the cannabis leaves.
Capitate-Stalked Trichomes
Capitate-Stalked trichomes are the ones we can see without a microscope. They give cannabis buds their frosty look. These will make up the entirety of top-quality hash. These trichomes resemble a stalk with a bulb on top. When making dry sift or other hash products, the goal is to separate the heads from the stalks.
Dry Sift vs. Bubble Hash
Bubble hash (also known as water hash or ice hash) is another popular method to make hash from cannabis flower. This process involves creating a mixture of cannabis and very cold water and ice to freeze the trichome heads and break them off. This is called “washing hash”. The mixture is then passed through increasingly fine nylon mesh screens to filter out unwanted plant material. After drying the hash, it is ready for consumption or further processing.
Dry sifting differs from the technique used to create hash when washing. Dry sifting is a less expensive set up, is easier to do and it takes less time than washing hash. The end product, although both hash, can differ by quality. Generally, bubble hash can create higher quality hash than dry sifting because it goes through more refinement.
Advantages and Disadvantages of Dry Sift Hash
Dry sifting has some advantages that may make it the ideal hash production method for some individuals. For example, you can dry sift trim, but you do not usually see bubble hash made with trim. Maybe you make some bubble hash with the buds then dry sift the trim. Now you are really using the whole plant! When compared to making bubble hash, dry sift production costs less to set up and requires less time and energy. For rosin production, dry sift produces better quality rosin than if you just pressed the flower.
On the flip side of things, it is much harder to produce top quality hash by dry sifting rather than washing bubble hash.
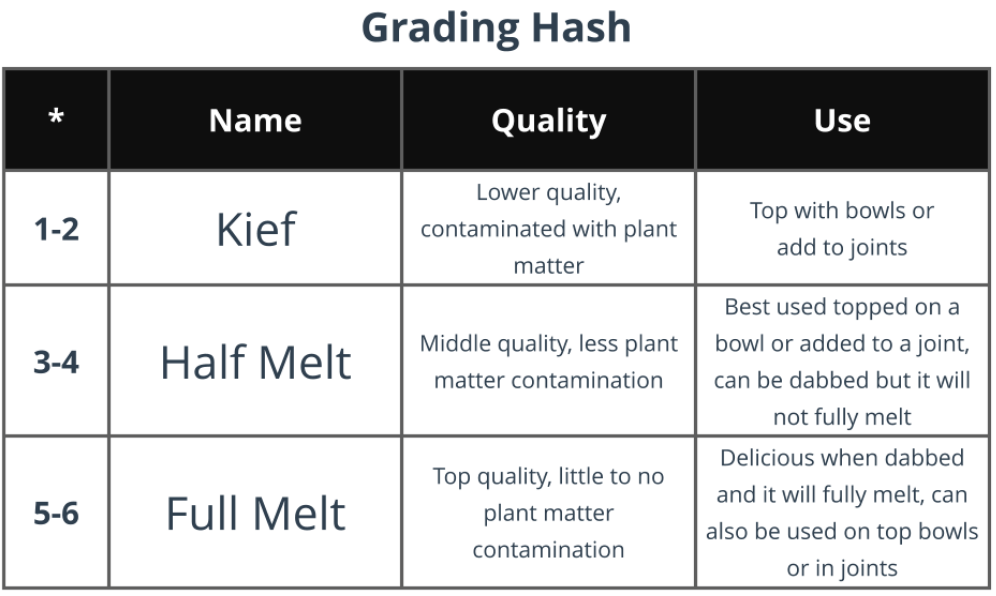
Hash Grading System
All hash is graded on a scale of 1 to 6 stars. Six star hash is the absolute best and it is known as full melt. Full melt hash is free from any contaminants and will fully vaporize when dabbed, leaving nothing behind. Half melt is considered 3-4 star hash. As the name suggests, it will not entirely vaporize if dabbed. There is plant matter contaminating the hash and this will be left behind. Half melt is sometimes better used on top of a bowl or in a joint. The lowest quality hash is kief (1-2 star hash). Topping any bowl with kief can really elevate your high.
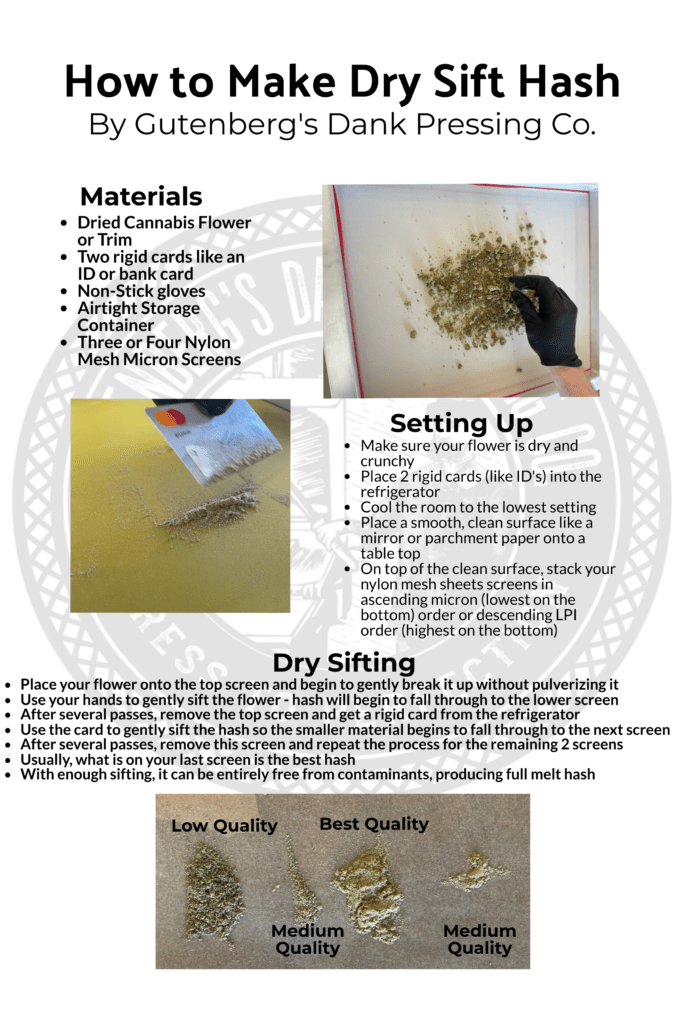
Step by Step How to Make Dry Sift Hash
What You’ll Need
First and foremost, you need some dried cannabis flower. It should be dry enough that you can break it with your hands, but not so dry that it completely pulverizes. One might describe the perfect buds for dry sifting as “crunchy”. The flower can either be full buds or trim. Trim has the advantage of more surface area being exposed compared to full buds where trichomes hide in all the hard to reach parts of the bud.
You are also going to need a couple of rigid cards (like credit cards or IDs), an airtight storage container, and three or four micron screens. These screens will separate the quality hash from the unwanted plant material. Generally, the microns used for the screens are around 250µ, 165µ, 149µ, and 70µ. The screens may also be measured not by micron, but by Lines Per Inch (LPI).
What You’ll Need
- Dried Cannabis Flower or Trim
- Two rigid cards like an ID or bank card
- Non-Stick gloves
- Airtight Storage Container
- Three or Four Nylon Mesh Micron Screens
LPI vs Micron
Dry sift boxes use two units of measurements for the mesh in the screens. Some manufacturers and distributors use micron size to measure the mesh. Others use lines per inch (LPI). You will see both equally as often. Here is a quick guide to convert from micron to LPI and vice versa.
| Micron Size (µ) | Lines Per Inch (LPI) |
| 25 | ~550 |
| 45 | ~325 |
| 73 | ~200 |
| 90 | ~170 |
| 120 | ~120 |
| 150 | ~100 |
| 160 | ~90 |
| 190 | ~75 |
| 220 | ~67 |
Setting Up
Make sure your cannabis is dry and crunchy. This is ideal for dry sifting. Place your rigid cards into the refrigerator to cool them down. Heat is the enemy as it can create an unwanted sticky situation (literally sticky). Cool the room you are working in to the lowest temperature you can. Next, lay down a glass surface or other smooth, contaminate free surface on which you will collect your dry sift.
Finally, place your micron screens over the glass or other smooth surface. They should start with the lowest micron on the bottom and work up. For example, 70µ on the bottom, then 149µ, then 165µ, then ending with 250µ on top. If your screens are measured in LPI, start with the highest number on the bottom and finish with the lowest number on top. Now you are ready to learn how to make dry sift!
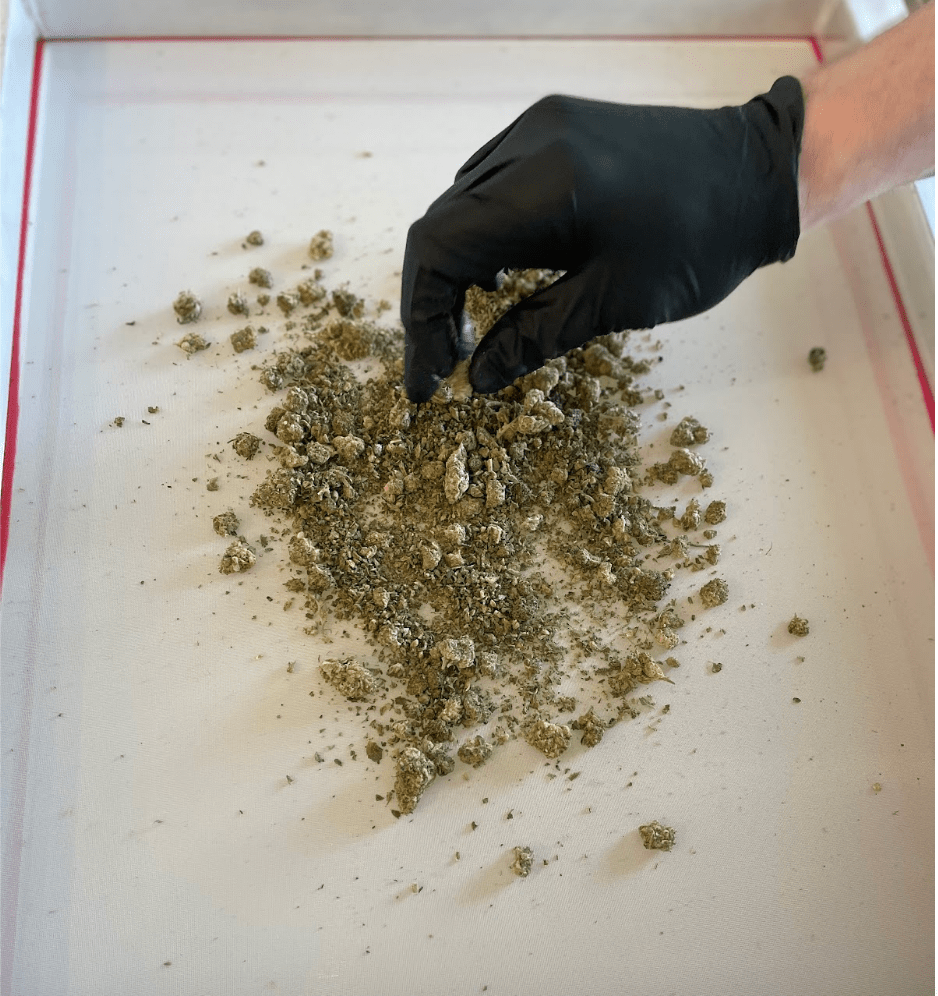
First, put your non-stick gloves on. Contamination is the enemy of good hash so these gloves can help you maintain a clean workspace. Place your flower onto your highest micron (lowest LPI) screen and use your fingers to break up the buds. Do not go overboard with this. You do not want pulverized nugs. Begin to either gently shake your top screen over the other screens or use your hands to gently rub the flower into the screen. Do not rub so hard that you are forcing unwanted plant matter through the screen. You should see powdery hash begin to form on the 2nd mesh screen. Depending how much flower you have, this process could take 10 minutes or more.
Second Sift
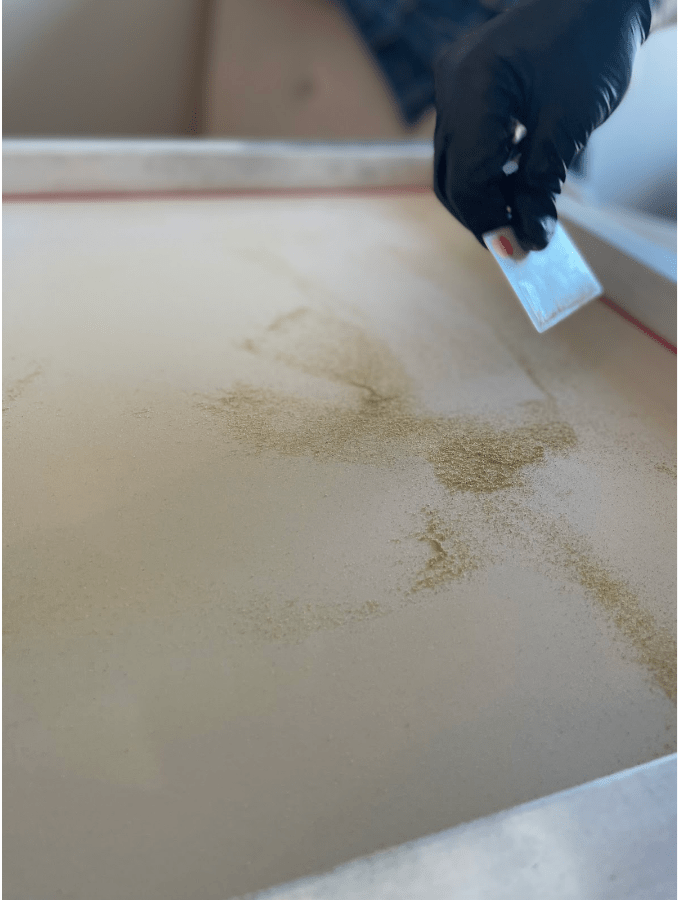
Take your rigid card out of the refrigerator and begin to gently sift the hash back and forth over the screen. Do not push too hard as this can cause unwanted plant material to fall through. After several passes of sifting, you can use the card to collect the low grade hash on this screen. You can smoke this hash in a bowl, but it probably will not do too much for you as it is mostly plant matter.
Third Sift
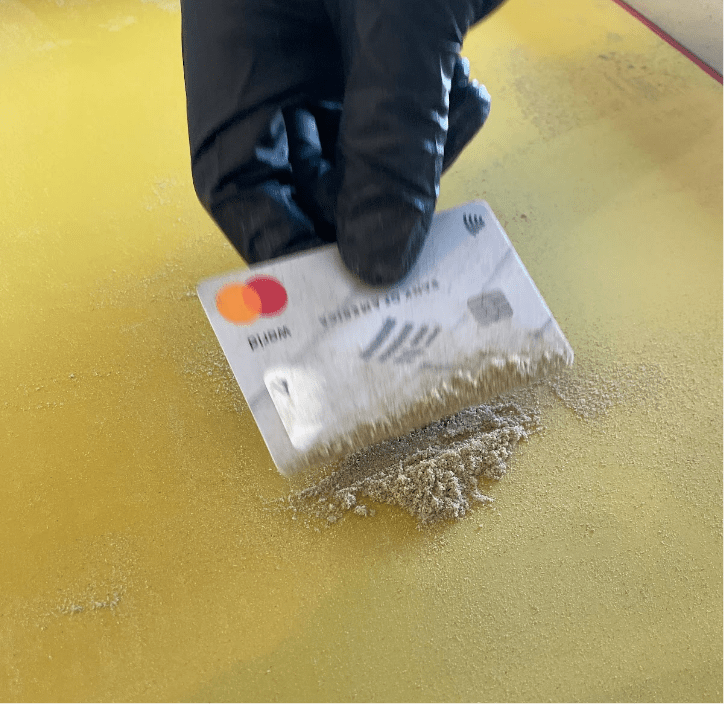
Now remove the 2nd screen to reveal the 3rd screen. Clean your rigid card off and place it back in the refrigerator to cool down. Take your 2nd rigid card out of the refrigerator. Just like the 2nd sift, we are going to use the rigid card to gently sift the hash on the screen. Again, be careful not to press too hard. After several minutes of sifting, you can collect this medium grade hash. This hash is probably best used to top a bowl rather than dabbing.
Fourth Sift
Your final sift will produce the best quality hash. Take your rigid card out of the refrigerator and begin to gently sift the hash. If you want really high quality hash, this sifting process could take upwards of 30 minutes. You are really refining the hash by sifting out the smaller micron trichome heads and plant material.
This hash will most likely be half melt (about 4 star), but with enough sifting you can achieve full melt hash (5-6 star). The hash that falls through the screen when sifting is a lower quality hash that can be used for edibles or on top of a bowl.
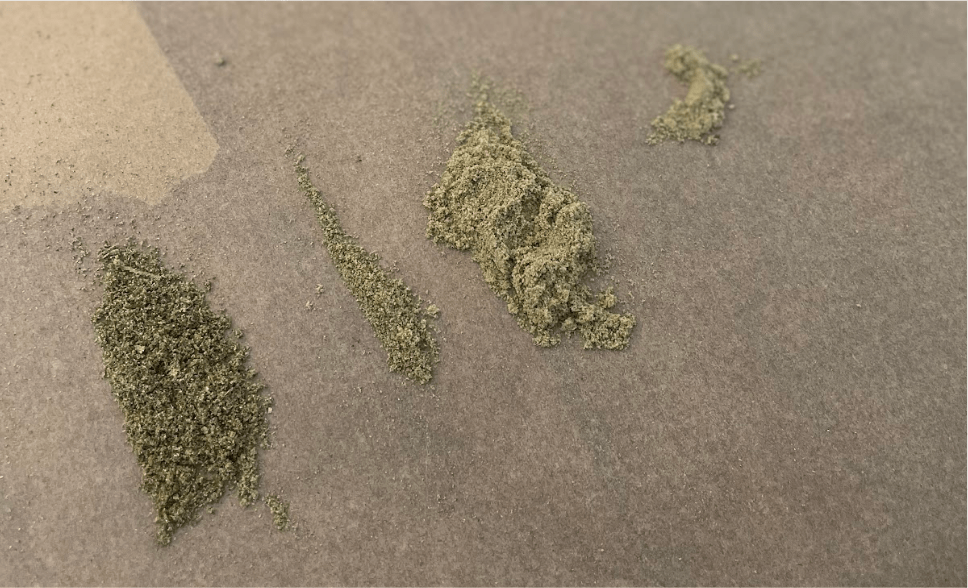
top quality left after 4th sift, lower quality small micron heads – Washed Up Jellyfish
Paint Roller Tech / Static Tech
This method is used as the final cleaning for your hash. Parchment paper is used to build up static electricity which can collect unwanted plant particles from your hash. Some choose to wrap a piece of parchment around a paint roller for ease of use.
To use paint roller / static tech, first sift your hash across the bottom screen a few times to build up some static electricity. Now, collect the hash into a pile then separate a small amount for cleaning. Take your paint roller and begin to gently spread the hash out. Be sure to always have the leading edge of your parchment passing over the hash first.
The leading edge will collect contaminants and the trailing edge will collect your hash. Continue passing the leading edge over the hash for several passes before collecting the hash. Now, repeat this process for the rest of your hash. Working in small piles rather than your whole yield can help to clean the hash more efficiently.
How to Use Dry Sift Hash
How to Smoke Dry Sift Hash
There are several ways you can smoke your dry sift hash. If it is very high quality and free from contaminants (full melt, 5-6 star), you can take some pretty delicious dabs. You could also top a bowl with the hash or break some up in a joint. If your hash is middle to lower quality (half melt and kief) it is best used on top of a bowl or broken into a joint.
How to Make Dry Sift Rosin
To press hash rosin from dry sift hash, you will need rosin bags (5µ-90µ). The lower the micron (µ), the less space there is for rosin to flow through. This can mean cleaner rosin, but you may sacrifice yield. The most popular micron size for pressing hash rosin is 25µ. In addition to rosin bags, you will also need a rosin press, some parchment paper, and a dab tool for collection.
First, fill your rosin bag with the dry sift. Be careful to avoid any air pockets. Leave at least ½ inch at the top of the rosin bag. Use this half inch to fold over and “close” the bag. Next, line your rosin press plates with parchment paper to collect the rosin when it is squished out. Place the rosin bag in the middle of your rosin press plates.
Now you can heat up the press plates. The temperature you use is entirely up to you. Generally people use about 140℉ – 220℉. Higher temperatures may result in either saucy (runny) or shatter-like rosin and lower temperatures are generally more budder-like. Apply just enough pressure to hold the rosin bag in place and let that sit for about 30 seconds. This prepares the hash for a good press.
You want to apply a steadily increasing pressure over the course of the press. Avoid moments when you are just letting the rosin bag sit on the heated press without any increase in pressure. A single press usually lasts no longer than a couple of minutes, but each press is unique. It will take some time and practice to develop a good feel for your technique. After the press, use your dab tool to collect the rosin and store it in an airtight container.
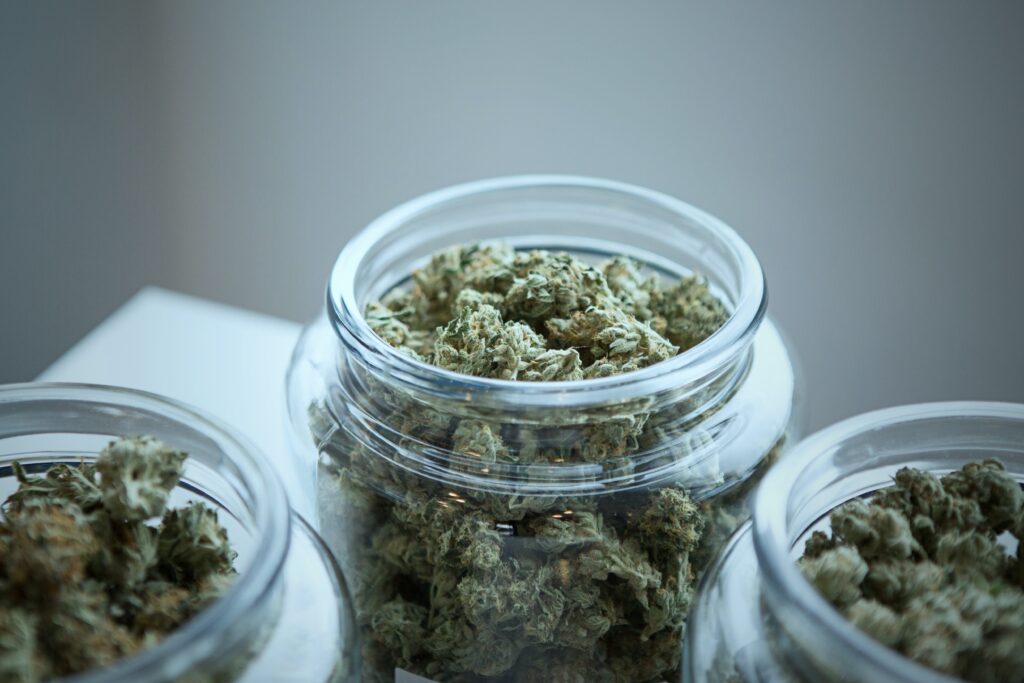
How to Store Dry Sift Hash
Humidity, heat, and oxygen are your enemy when it comes to long term hash storage. Any of them can alter both the cannabinoid and terpene content of your hash. Terpenes in particular are very volatile and the slightest changes in the storage environment can destroy valuable terpenes. Keep your hash in airtight containers stored in the refrigerator.