Table of Contents
How to do a Rosin Press Directional Flow
Folding Parchment Paper so Rosin Flows Where You Want
What is Rosin Press Directional Flow and Why Should I Use it When Pressing Hash Rosin
A rosin press directional flow or directional fold is when hash makers, such as yourself, fold their parchment paper in a way that allows the flow of rosin to be controlled and centralized. The rosin is guided away from the press plates and to a location of your choosing. It is fairly simple to do as it just involves a few folds and some scissors (optional). Other than that, you are pressing the same way you usually would. Rosin press directional flow is only suitable for hash rosin pressing as flower rosin does not produce enough during a press that it needs a directional flow.
So why should you employ a directional fold? There are a few reasons. For one, the flow of rosin away from the press plates allows your freshly pressed rosin to move away from the heat generated by the plates as soon as possible.This helps to maintain terpene and cannabinoid profiles. You never want your rosin to just sit on the heated press plates when it is already squished out.
Using a rosin press directional flow is also a great indicator of the progress of your press. When the rosin stops flowing, the starting material is most likely fully pressed and you should remove pressure and heat.
Another great benefit of a rosin press directional flow is ease of collection after the press is complete. Rosin can be sticky and messy and hard to collect. Using a directional fold to centralize your end product can help with collection and decrease waste.
Some even use the folded directional pouch multiple times over multiple presses. This can help you save time and supplies.
There are two popular methods of folding your parchment to create a directional pouch: the straight fold and boat tech. Let’s take a closer look at how to fold each.
How to do a Directional Fold with Parchment Paper
Rosin Press Directional Flow: Straight Fold
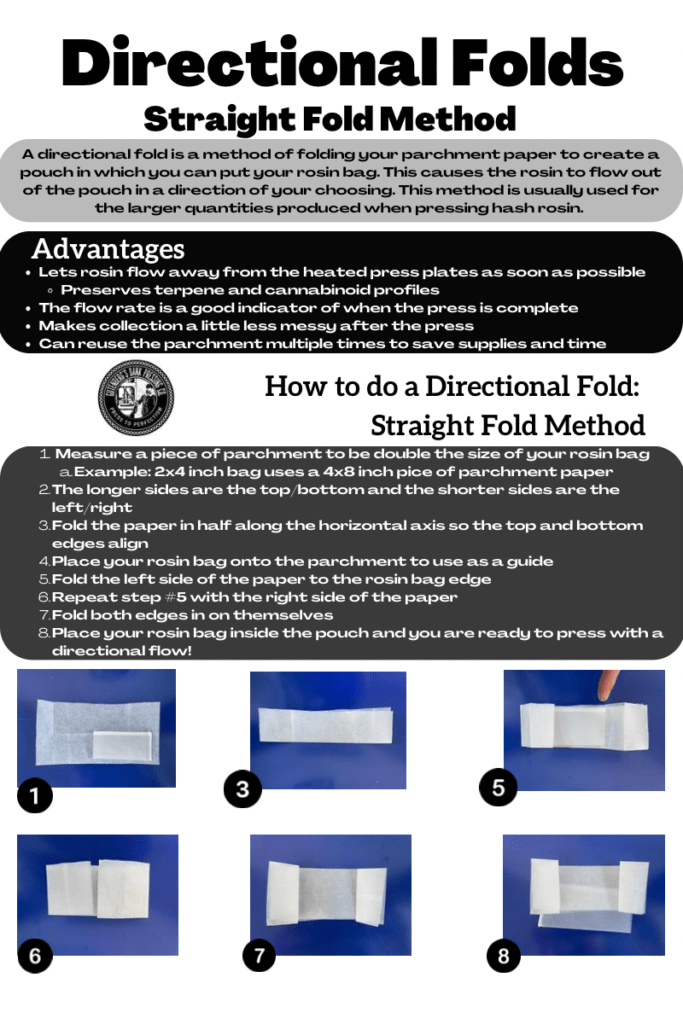
This rosin press directional flow folding method produces a rectangular pouch in which you can fit your filled rosin bag. When pressed, the rosin will flow straight out of the pouch’s opening. To begin, take a piece of parchment paper that is about twice as long and twice as wide as your rosin bag. For example, a 2×4 inch bag would use a 4.5×8 inch piece of parchment paper. We know 4.5 inch is not twice the size of 2 inch; adding the extra ¼ to ½ inch allows your rosin bag to fit into the pouch more easily.
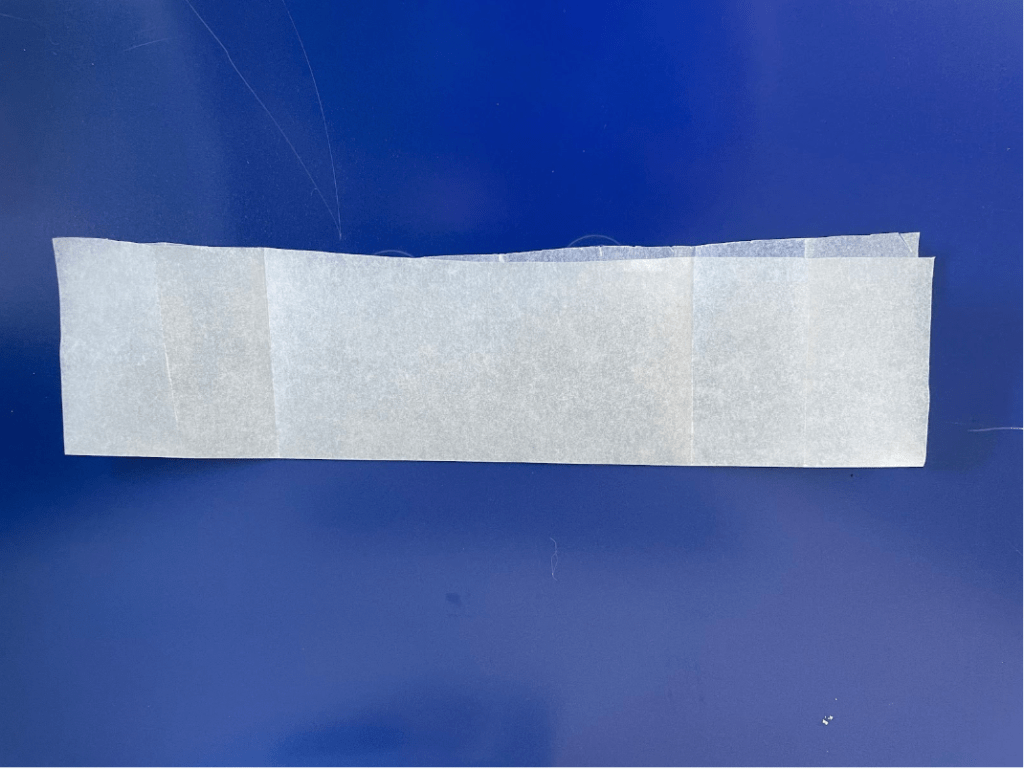
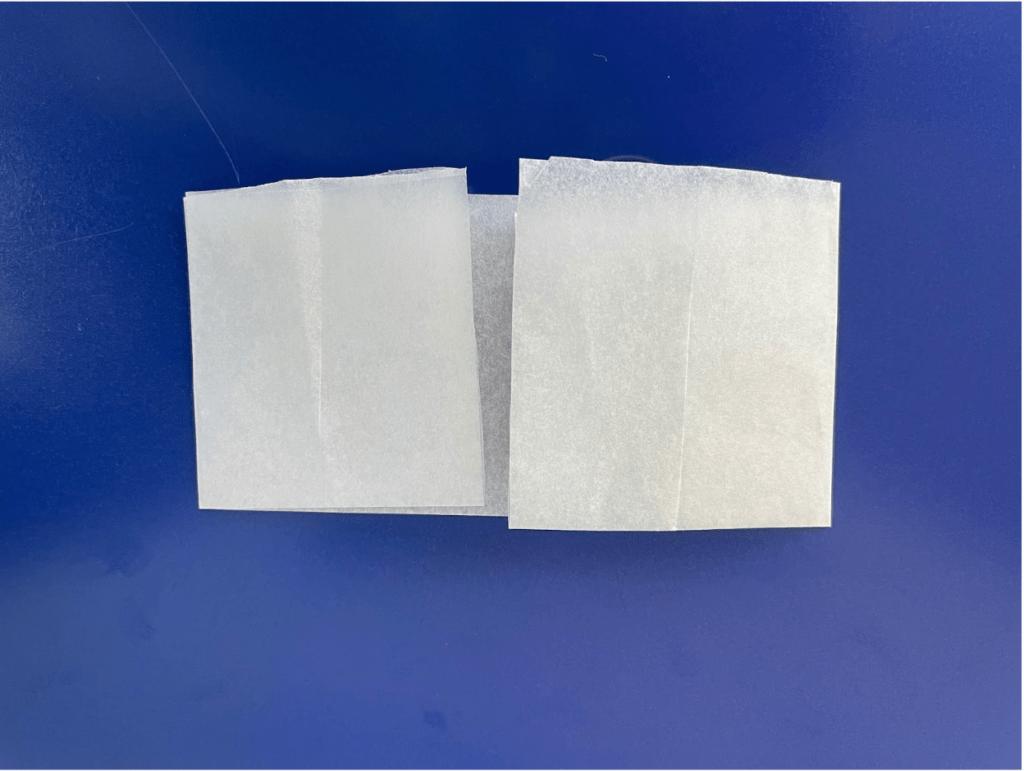
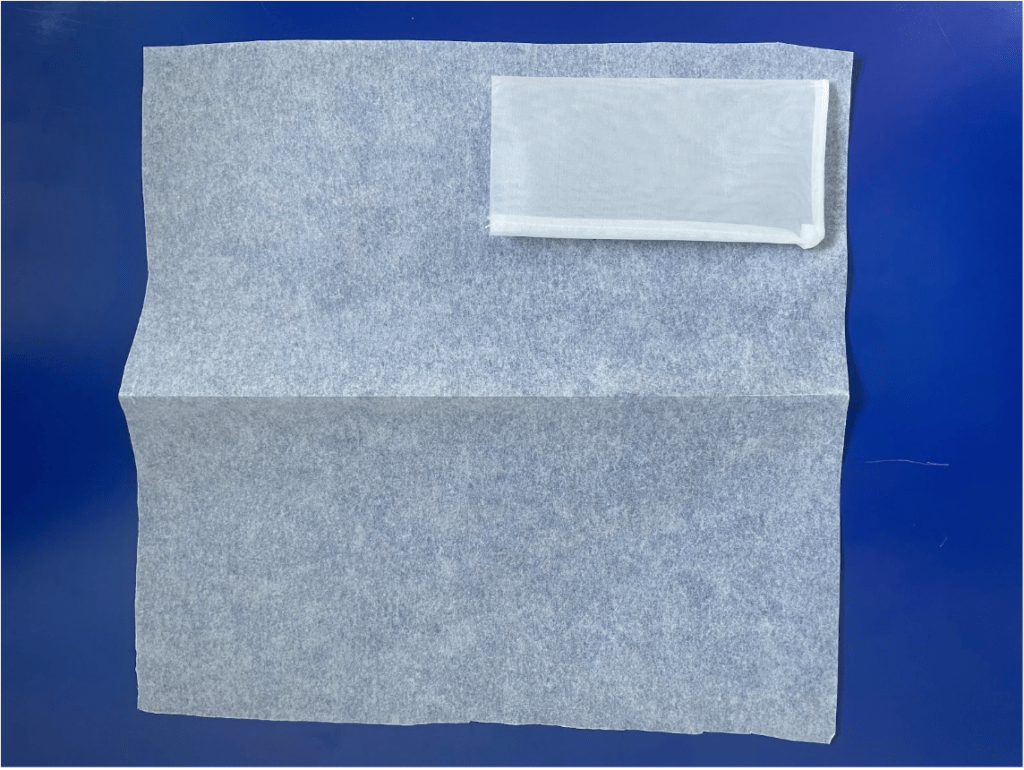
Align your paper so the longer sides are the top/bottom and the shorter sides are the right/left. Fold your parchment paper in half along the horizontal axis so that the top edge and the bottom edge now align.
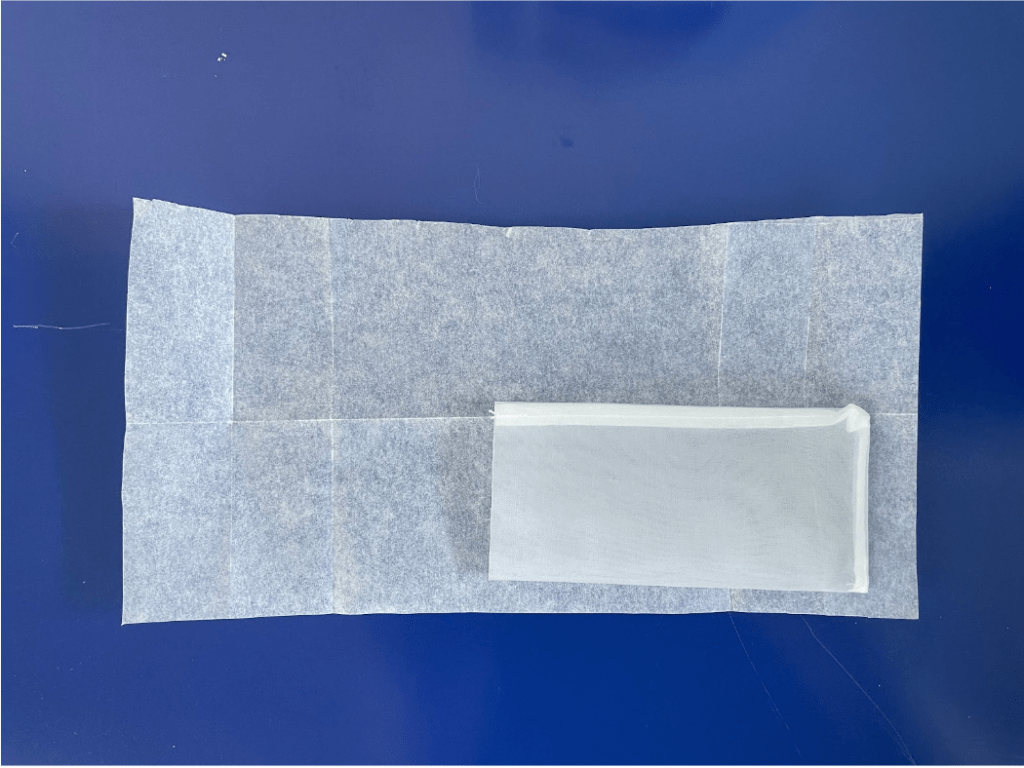
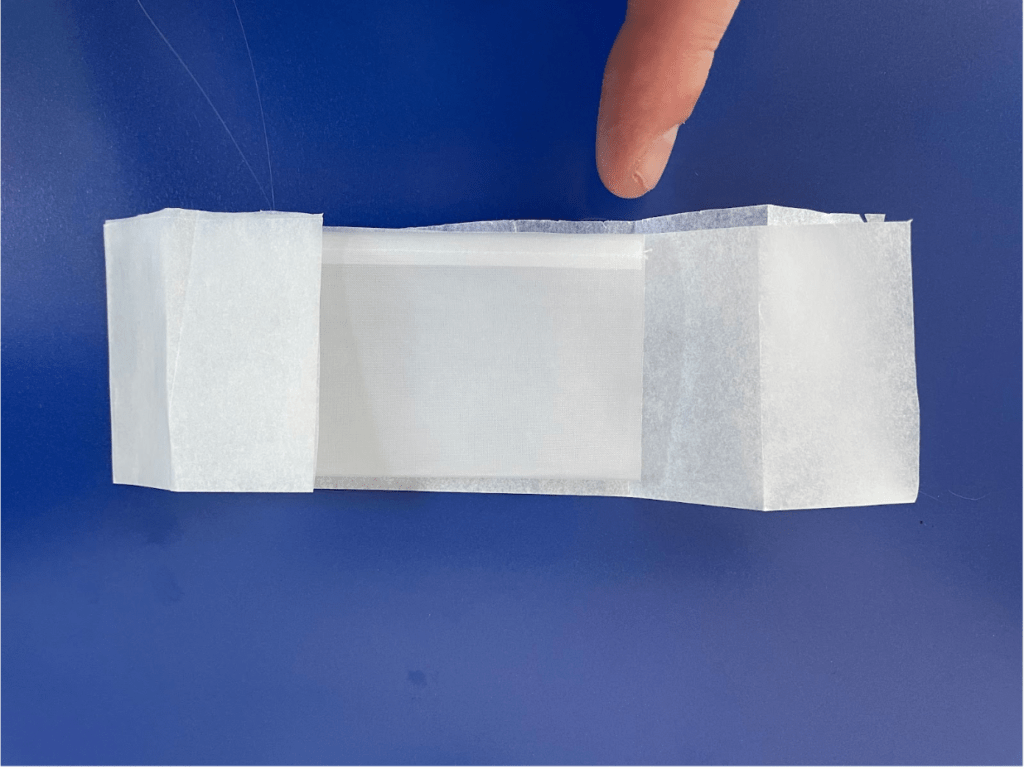
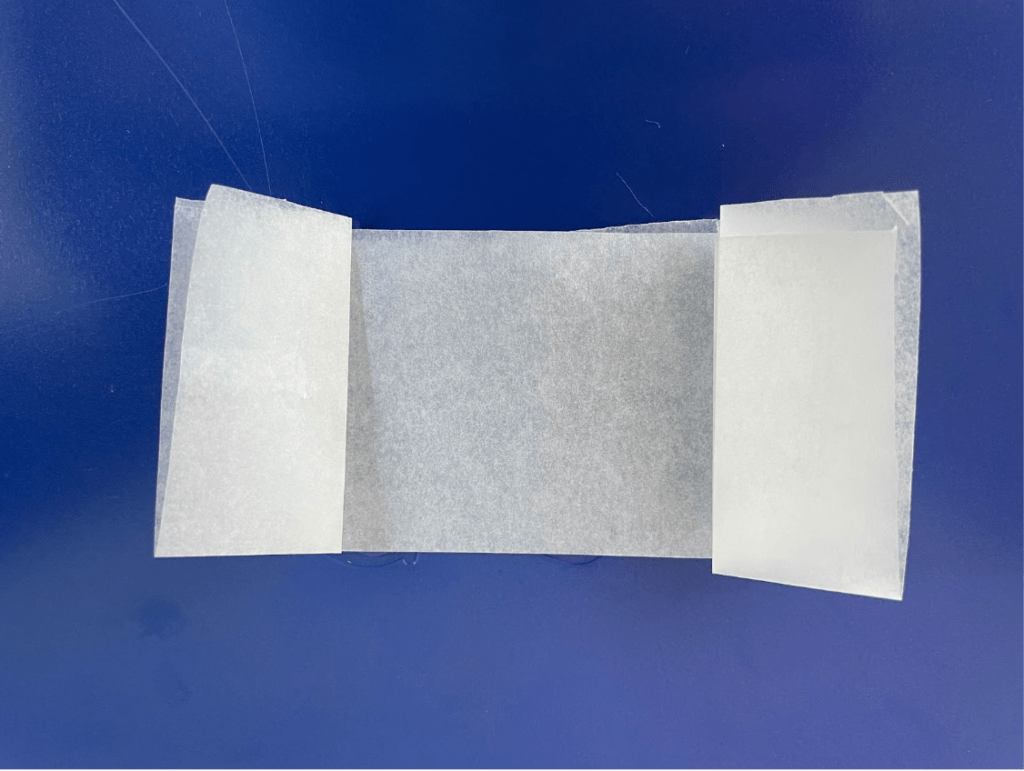
With your parchment paper folded in half, we will consider the crease edge to be the bottom and the opposite edge to be the top. Place your rosin bag onto the parchment paper in the center. Fold the left side of the parchment paper in to where it meets the rosin bag. Then, fold that back on itself. Repeat this step with the right side.
PRO TIP: Always smooth your creases out
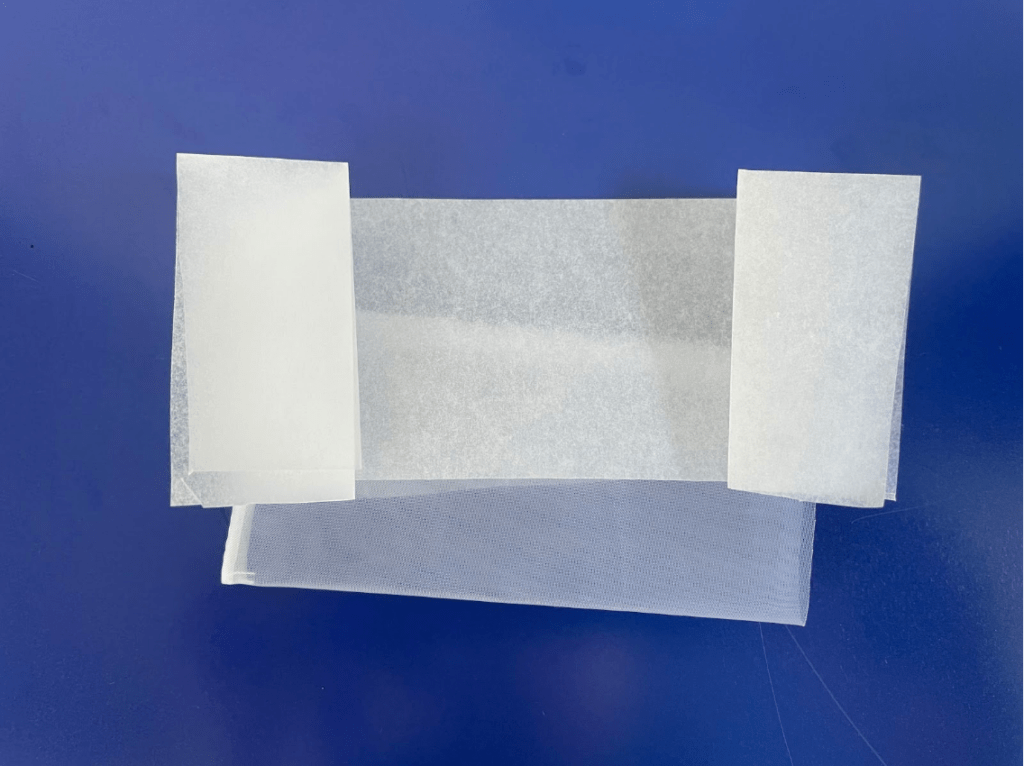
And that is it! Just side your packed rosin bag into the pouch and place it on your rosin press plates. Now your rosin, when squished, will directionally flow out of the pouch you’ve created.
in to the edges of the rosin bags
Rosin Press Directional Flow: Boat Tech
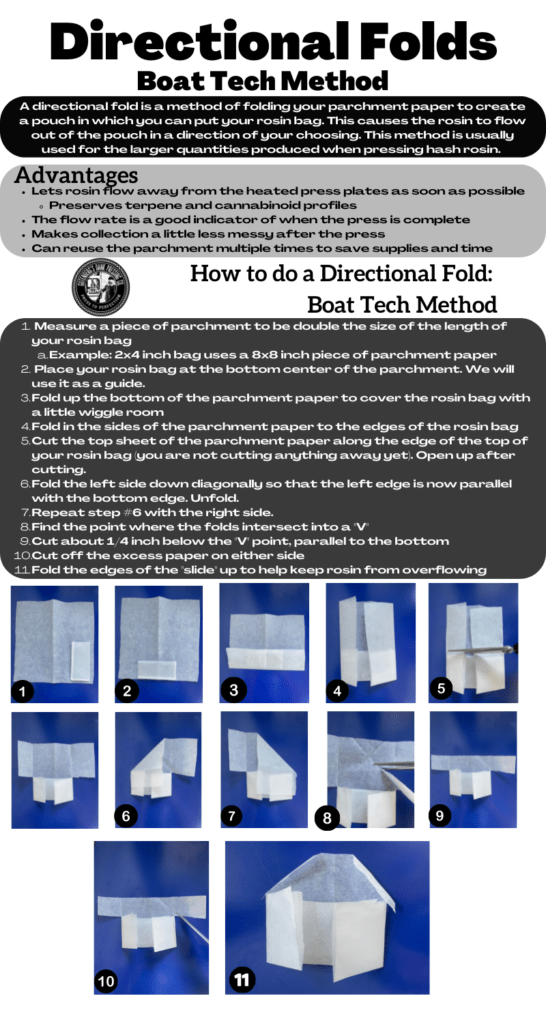
Rosin Press Directional Flow Boat Tech is a method of folding your parchment paper into a pouch that holds your filled rosin bag. The pouch has a V-shaped extension (like a slide) that directs the flow of rosin to a central point. The first step is to cut a piece of parchment. You want a square whose sides are 2x as long as the length of your rosin bag. For example, if you are using a rosin bag that is 2×4 inch, you should use a piece of parchment that is at least 8×8 inch. It is always best to give yourself an extra half inch of wiggle room as well.
Ex: 2×4 inch rosin bag uses 8×8 inch parchment
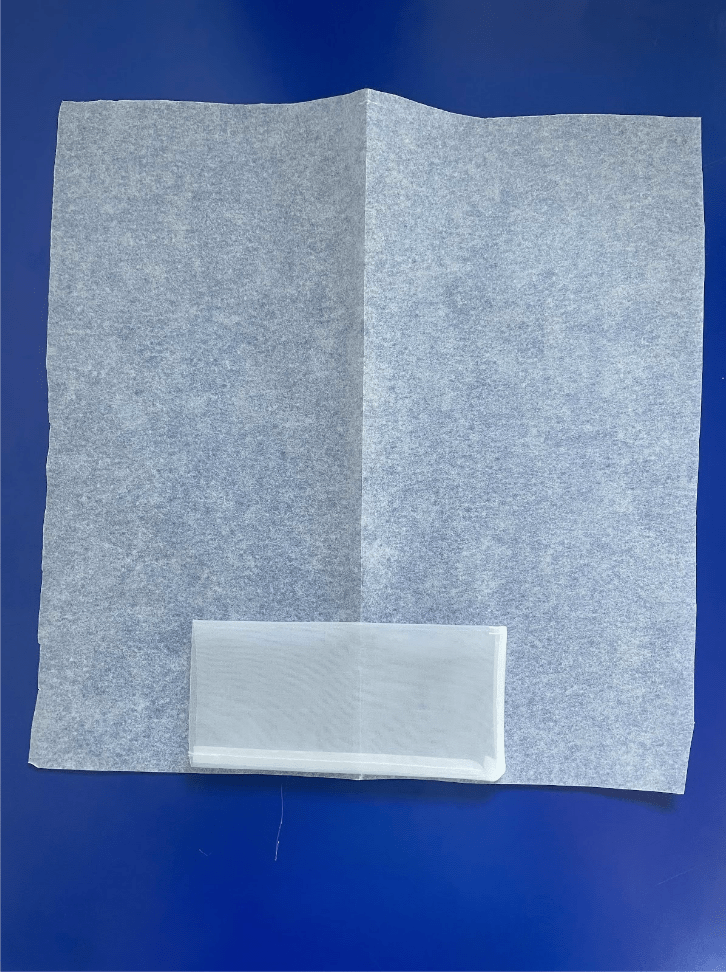
Now, place your rosin bag at the bottom center of your parchment paper. We will use it for guidance when folding. Fold the bottom up just enough that it covers the width of your rosin bag. Next, fold the left and right sides in halfway so they meet in the middle.
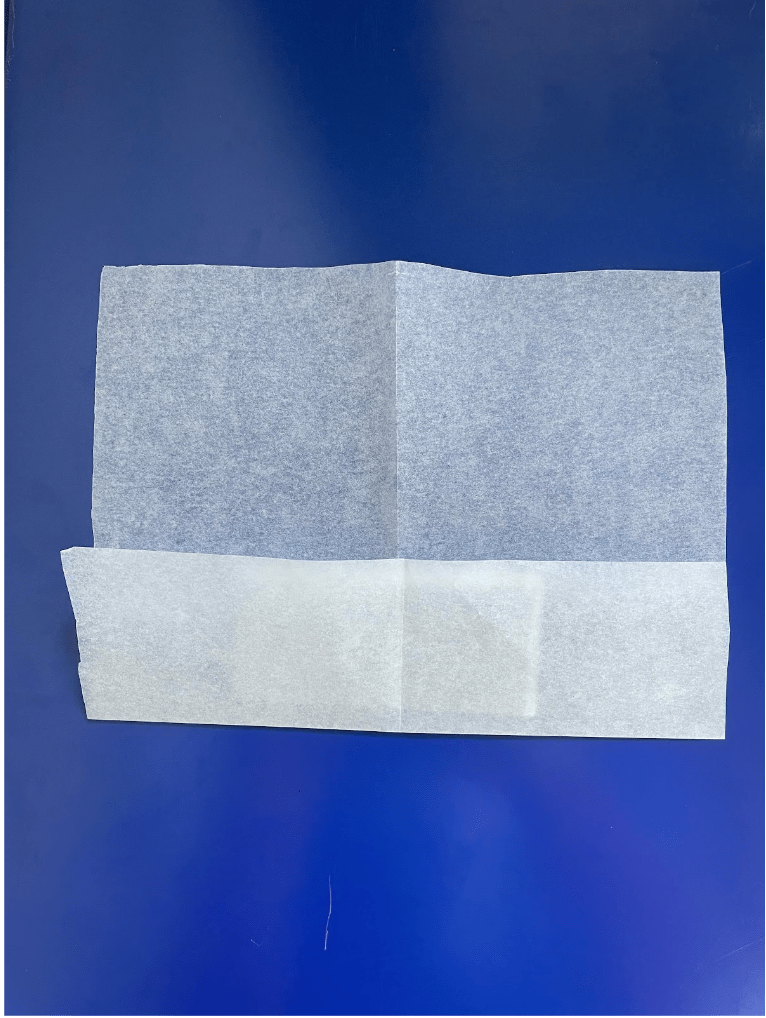
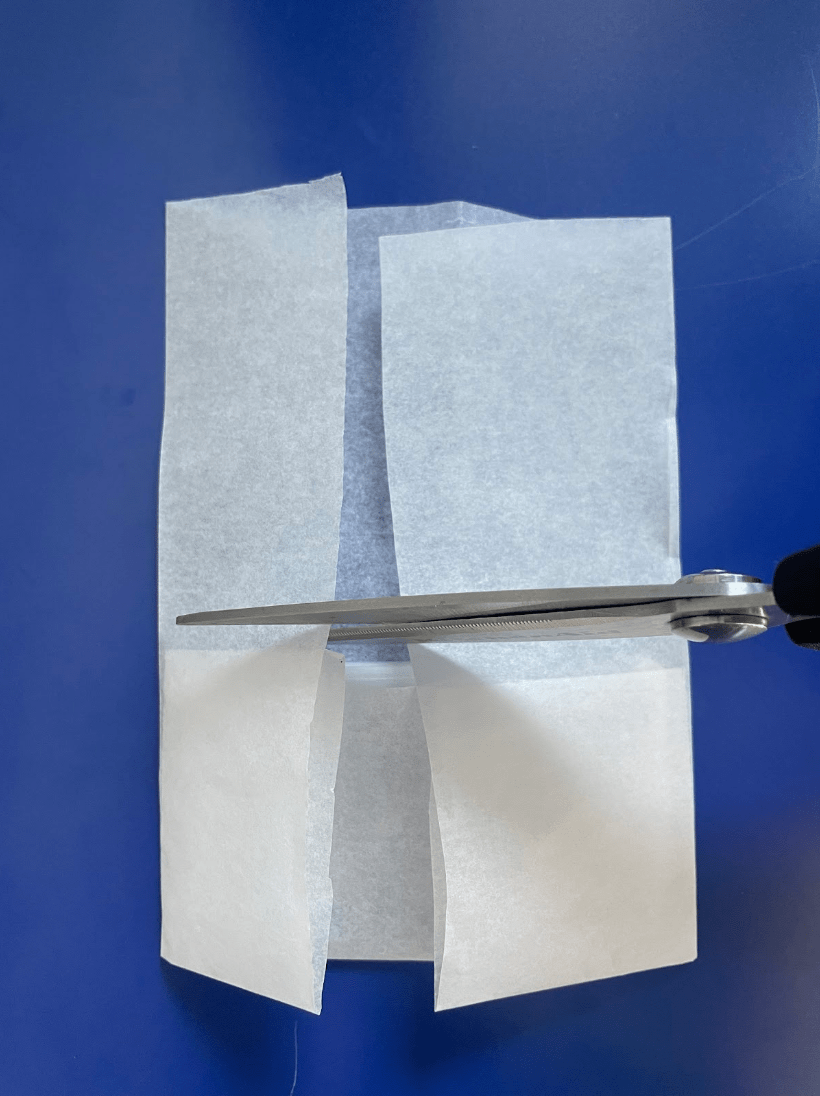
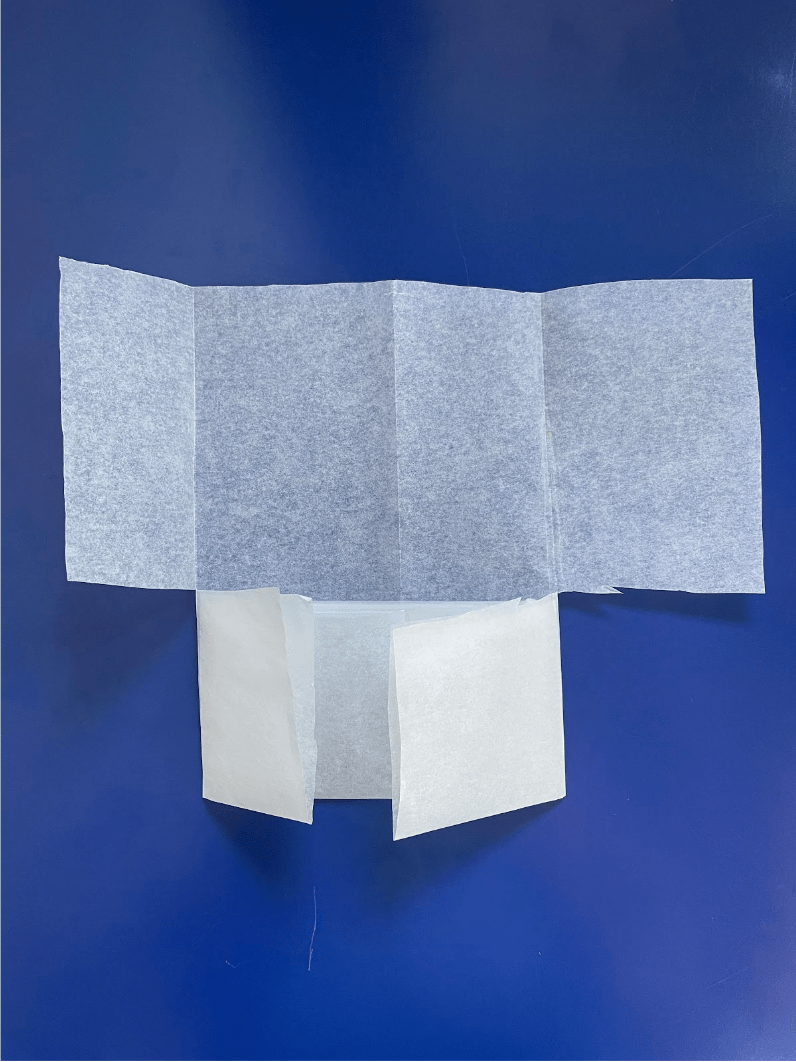
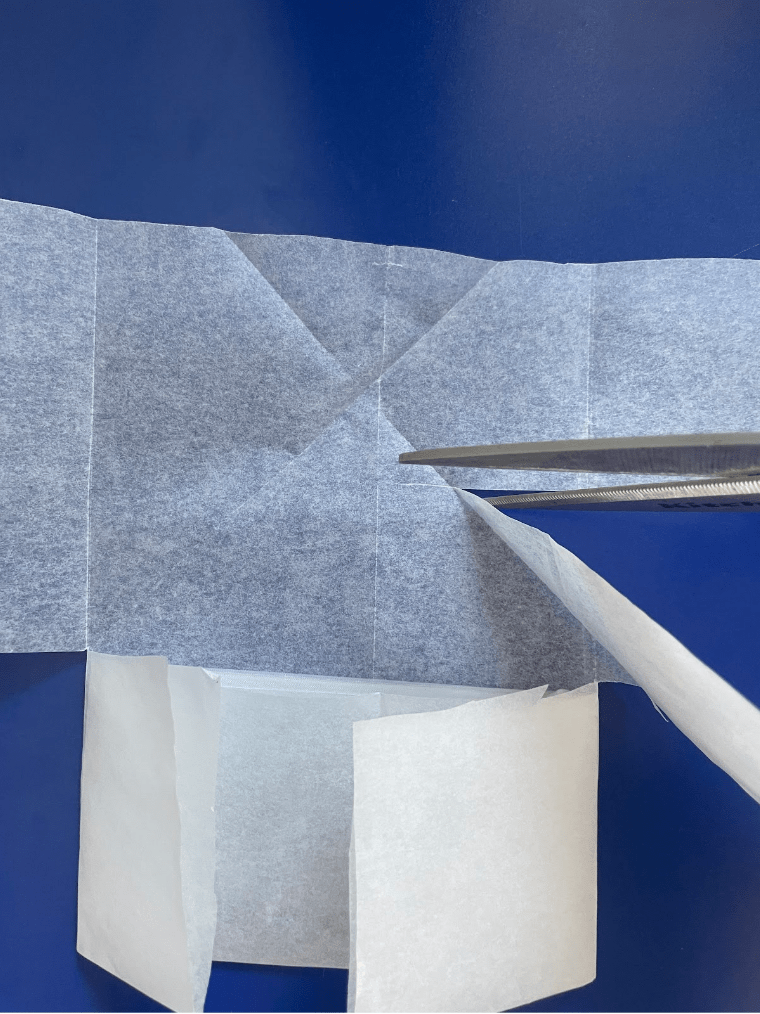
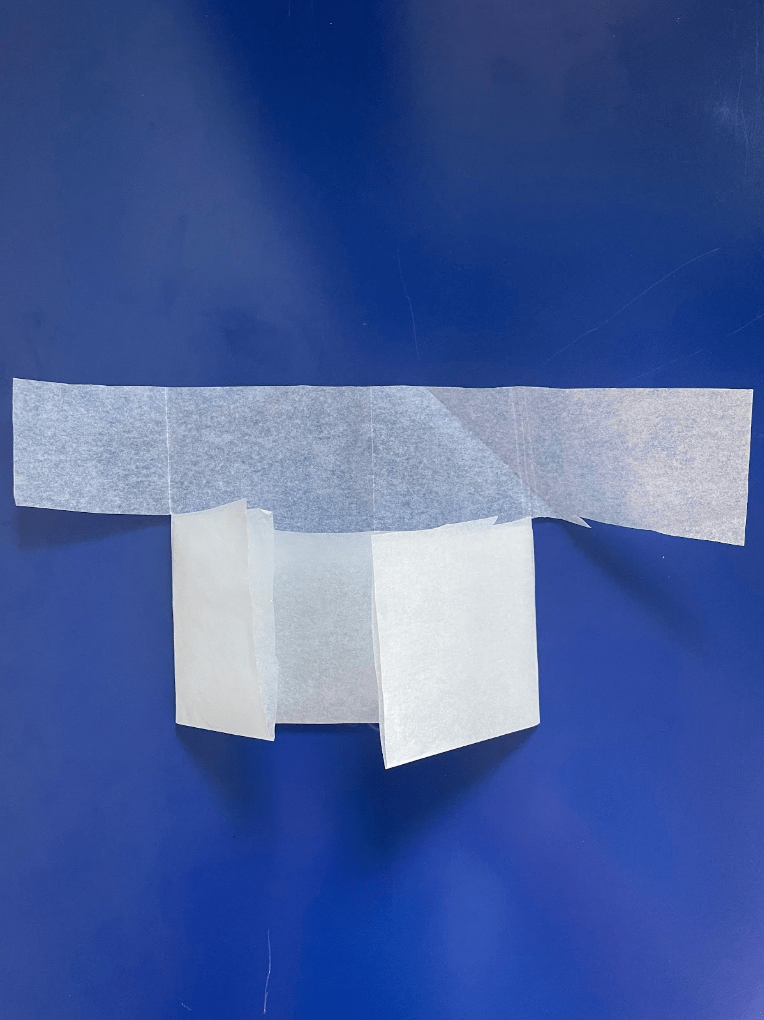
With your first folds done, it is time to utilize some scissors. You are going to cut the top of the side folds while leaving the bottom of the folds uncut. This means you are not cutting away any pieces right now. Along the edge of the first fold you did, cut from the edge to the crease. Do this to both sides. Now, unfold the top half of your cuts so now your parchment paper resembles two rectangles; the bottom is your pouch and the wider top rectangle will become your “slide”.
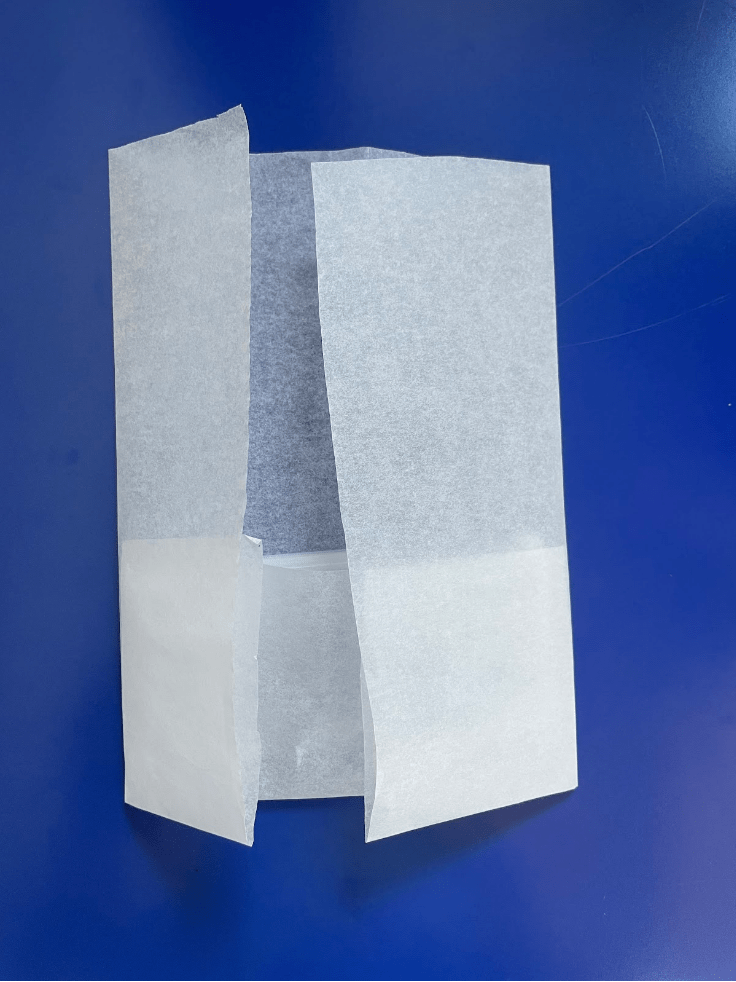
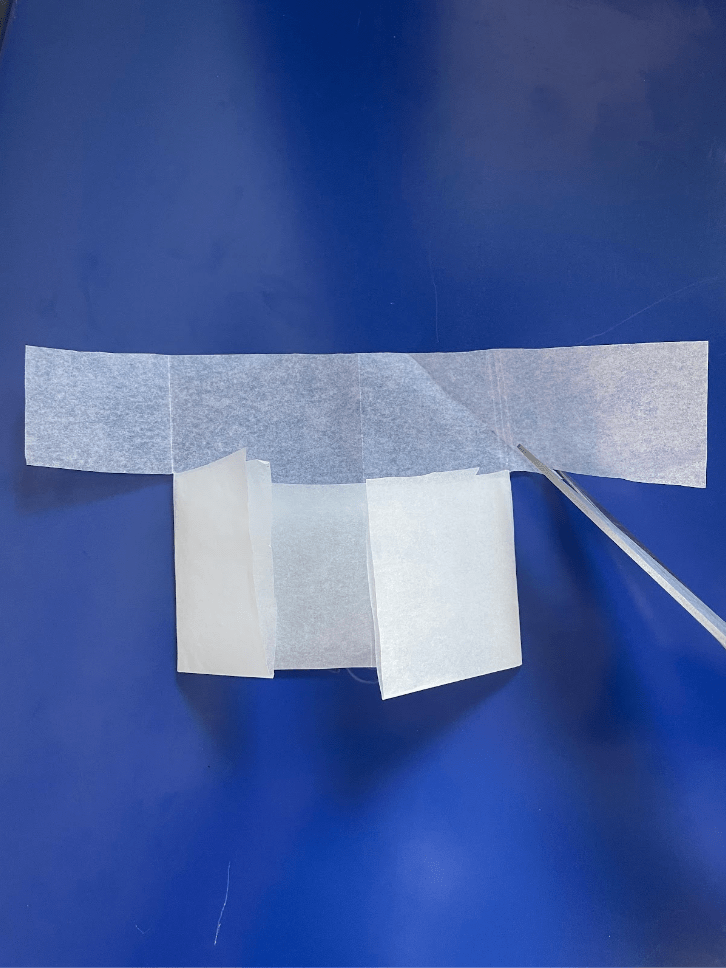
This next part is to create the “slide”. Take the right side of your upper rectangle and fold it down diagonally so that the right edge of the paper is now parallel to the bottom edge. Crease this then unfold it. Repeat this with the left edge. If you look at the creases in the top rectangle, you should see a “V” shape. Take your scissors and cut right below the tip of the “V”, parallel to the bottom of the paper. You can discard the paper you have cut away.
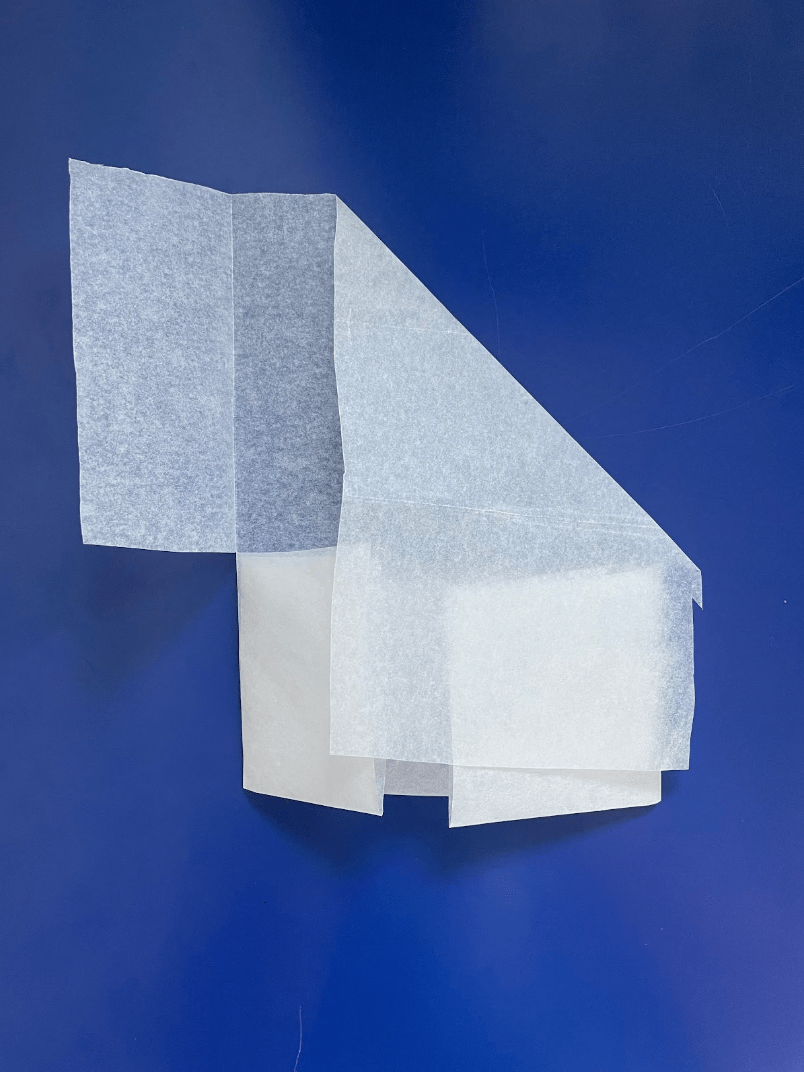
left edge is parallel with the bottom edge
left edge is parallel with the bottom edge
about ¼ inch below the intersection point
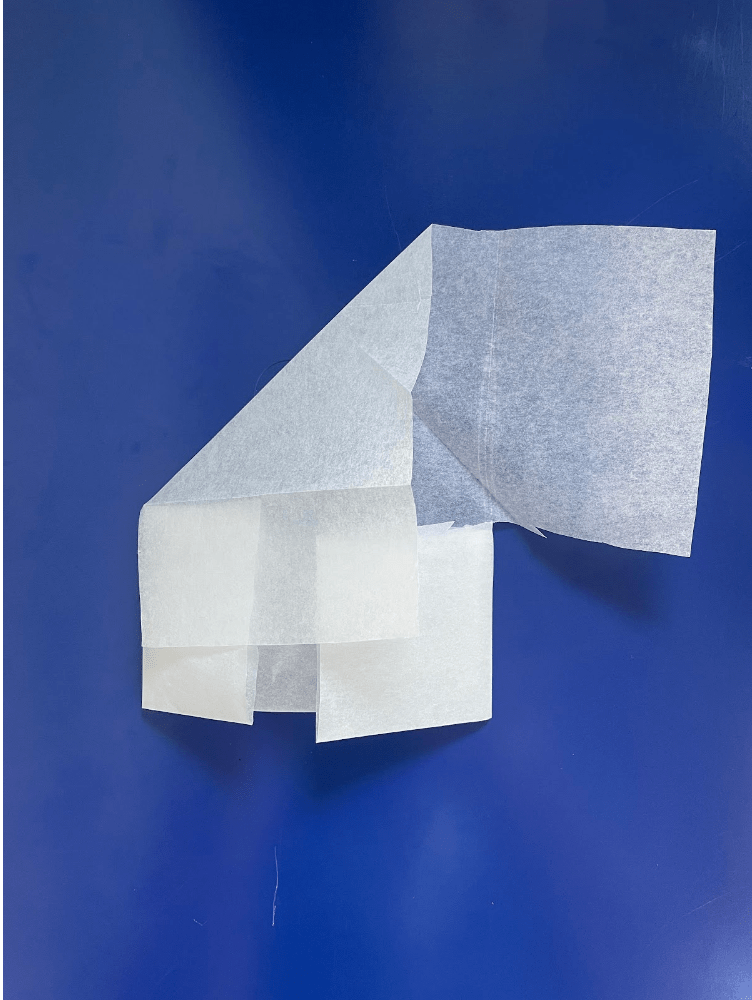
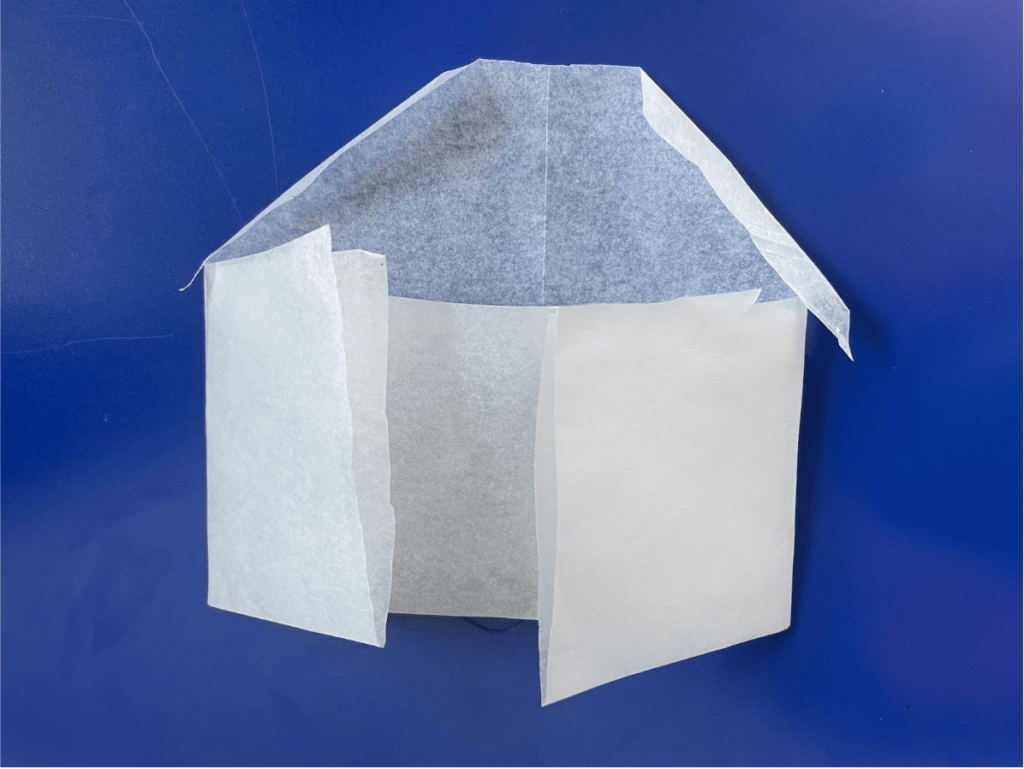
The final cut is to remove the excess paper on the left and right side of the “V” shape slide. After you cut the excess away, your paper should resemble a rectangle pouch with a “V” shaped “slide” coming out of the top. The last step is to make an upward fold along the edges of the “V” so that the rosin will not overflow when flowing out of the pouch. About ⅛ – ¼ of an inch on either side will suffice.
PRO TIP: Always smooth your creases out
You are now ready to have your rosin flow directionally!
Rosin Press Directional Flow: Make it Your Own Way
Rosin press directional flow with parchment paper is not an exact science. If you want to combine the above methods, alter them, or do something entirely different, nothing is stopping you! The methods described above are tried and true folding techniques that many of the best hash-makers in the country use, but that does not mean it is the only way.